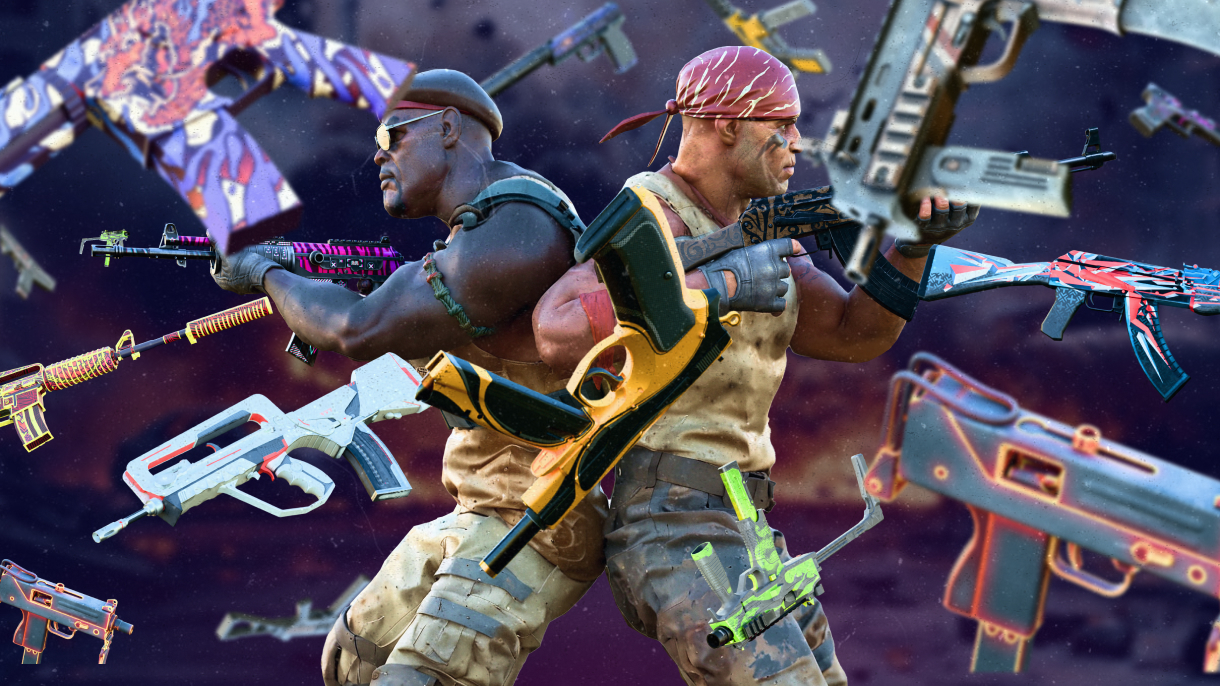
When playing Counter Strike 2, players often find themselves in exhilarating moments, whether it’s achieving a remarkable rank-up, showcasing a unique skin, or simply capturing an epic in-game situation. These moments are worth cherishing and sharing with fellow gamers or saving for personal keepsake. That’s where the ability to take high-quality CS2 screenshot becomes invaluable. With just a few simple steps, you can preserve these moments forever.
Taking CS2 Screenshots
Capturing a CS2 screenshot within Steam is a breeze – simply tap the F12 key on your keyboard. To peruse your collection of snapshots, navigate to Steam’s menu bar, select View, and then choose Screenshots. Additionally, Steam offers the flexibility to modify both the default screenshot shortcut and the destination folder for storing your screenshots through its settings menu.
Where do the screenshots taken by the F12 key are stored?
For Windows: C:\Program Files (x86)\Steam\userdata<your Steam ID>\730\screenshots
For Mac: ~/Library/Application Support/Steam/userdata/<your Steam ID>/730/screenshots

How to take screenshots by third-party tools?
Expanding on third-party tools for taking screenshots in CS2, here are more options and their features:
NVIDIA GeForce Experience: If you have an NVIDIA graphics card, GeForce Experience allows you to capture screenshots with added filters and effects.
Snipping Tool (Windows) or Snip & Sketch (Windows 10): These built-in Windows tools enable you to capture specific areas of your screen with ease.
Lightshot: A lightweight and user-friendly tool available for both Windows and Mac that allows for quick and customizable screenshots.
Fraps: Widely used by gamers, Fraps allows capturing screenshots in CS2 along with benchmarking features for FPS (Frames Per Second) and video capture capabilities.
ShareX: This free and open-source tool offers various capture modes and editing options. It allows for capturing specific regions, full screens, or windows with customizable hotkeys.
OBS Studio: Primarily used for streaming, OBS Studio also provides options for taking high-quality screenshots in CS2. Users can configure settings for image format, quality, and hotkeys.
Xbox Game Bar (Windows 10): Integrated into Windows 10, the Xbox Game Bar includes a screenshot feature allowing quick and easy captures during gameplay. It also offers basic editing tools.
ShareFactory (PlayStation): PlayStation users can utilize ShareFactory to capture and edit gameplay footage, including screenshots, with added effects and audio tracks.
Greenshot: A versatile screenshot tool for Windows that allows for capturing entire screens, specific regions, or even scrolling web pages. It offers various editing and annotation options.
Gyazo: This tool provides instant screenshot capture, enabling users to share images instantly through links. It’s useful for quick sharing on forums or social media platforms.
Bandicam: A versatile screen capture software that not only allows for game recording but also offers screenshot functionality. Users can select specific areas to capture or use hotkeys for quick shots.
SharePlay (PlayStation): PlayStation users can leverage SharePlay to capture screenshots and videos, allowing for easy sharing across social media platforms or with friends.
PicPick: An all-in-one program for capturing, editing, and sharing screenshots. It includes various annotation tools, a color picker, and a pixel ruler.
Puush: This tool offers instant screenshot sharing via links, making it efficient for quick sharing and showcasing moments in CS2 with others.

Several advice to take good screenshots
Optimize Graphics Settings: Alongside Ultra Quality settings, ensure your system can handle the settings without compromising gameplay performance.
Consider HUD and Crosshair Visibility: Adjust your HUD (Heads-Up Display) settings to declutter the screen for a cleaner screenshot. Similarly, experiment with crosshair settings or temporarily disable it to avoid obstructing the focal point of the image.
Utilize Demo Playback: CS2 allows you to record your gameplay using the demo system. This feature enables you to rewatch moments and capture screenshots from different angles or perspectives.
Use Cinematic Tools: Some players use external cinematic tools or mods that allow for more advanced camera control, enabling them to capture breathtaking angles and shots not possible within the game’s default parameters.
Focus on Composition: Apply basic photography principles like the rule of thirds. Experiment with framing and composition to create visually appealing screenshots.
Experiment with Filters and Effects: Some third-party tools offer filters and effects that can enhance the mood or aesthetic of your screenshots. Experiment with these to add flair to your images.
Capture Unique Moments: Look for distinctive in-game moments, unique skins, or rare situations that can make your screenshots stand out. Whether it’s a stunning map view or an extraordinary kill, uniqueness adds value.
Timing and Patience: Be patient and wait for the perfect moment to capture your screenshot. Sometimes, the best shots come from a well-timed pause in the action or an unexpected turn of events.
Share and Learn from Communities: Engage with CS2 communities and forums where players share their screenshots. Analyze and learn from others’ work to improve your own screenshot-taking skills.

CS2 Screenshots: Immortalizing Adventures and Achievements
The ability to capture exceptional moments in CS2 through screenshots, whether showcasing remarkable CS2 skin screenshots or breathtaking in-game scenes, allows players to share their experiences and achievements within the gaming community. Whether using the default F12 key or exploring a range of third-party tools, mastering the art of capturing these moments enhances the storytelling aspect of the game. By employing various techniques, exploring diverse tools, and engaging with the CS2 community, players can create visually stunning CS2 screenshot that immortalize your adventures in the dynamic world of Counter-Strike 2.


![How to Get Cases in CS2: Ultimate Guide [2024]](https://front.stage.jamson-sc.dev/community/wp-content/uploads/2024/08/Main-x-Name-32.jpg)

